17-06-2026
Portfolio website
How I built my portfolio website to showcase my projects and articles.
- Next.js
- ContentLayer2
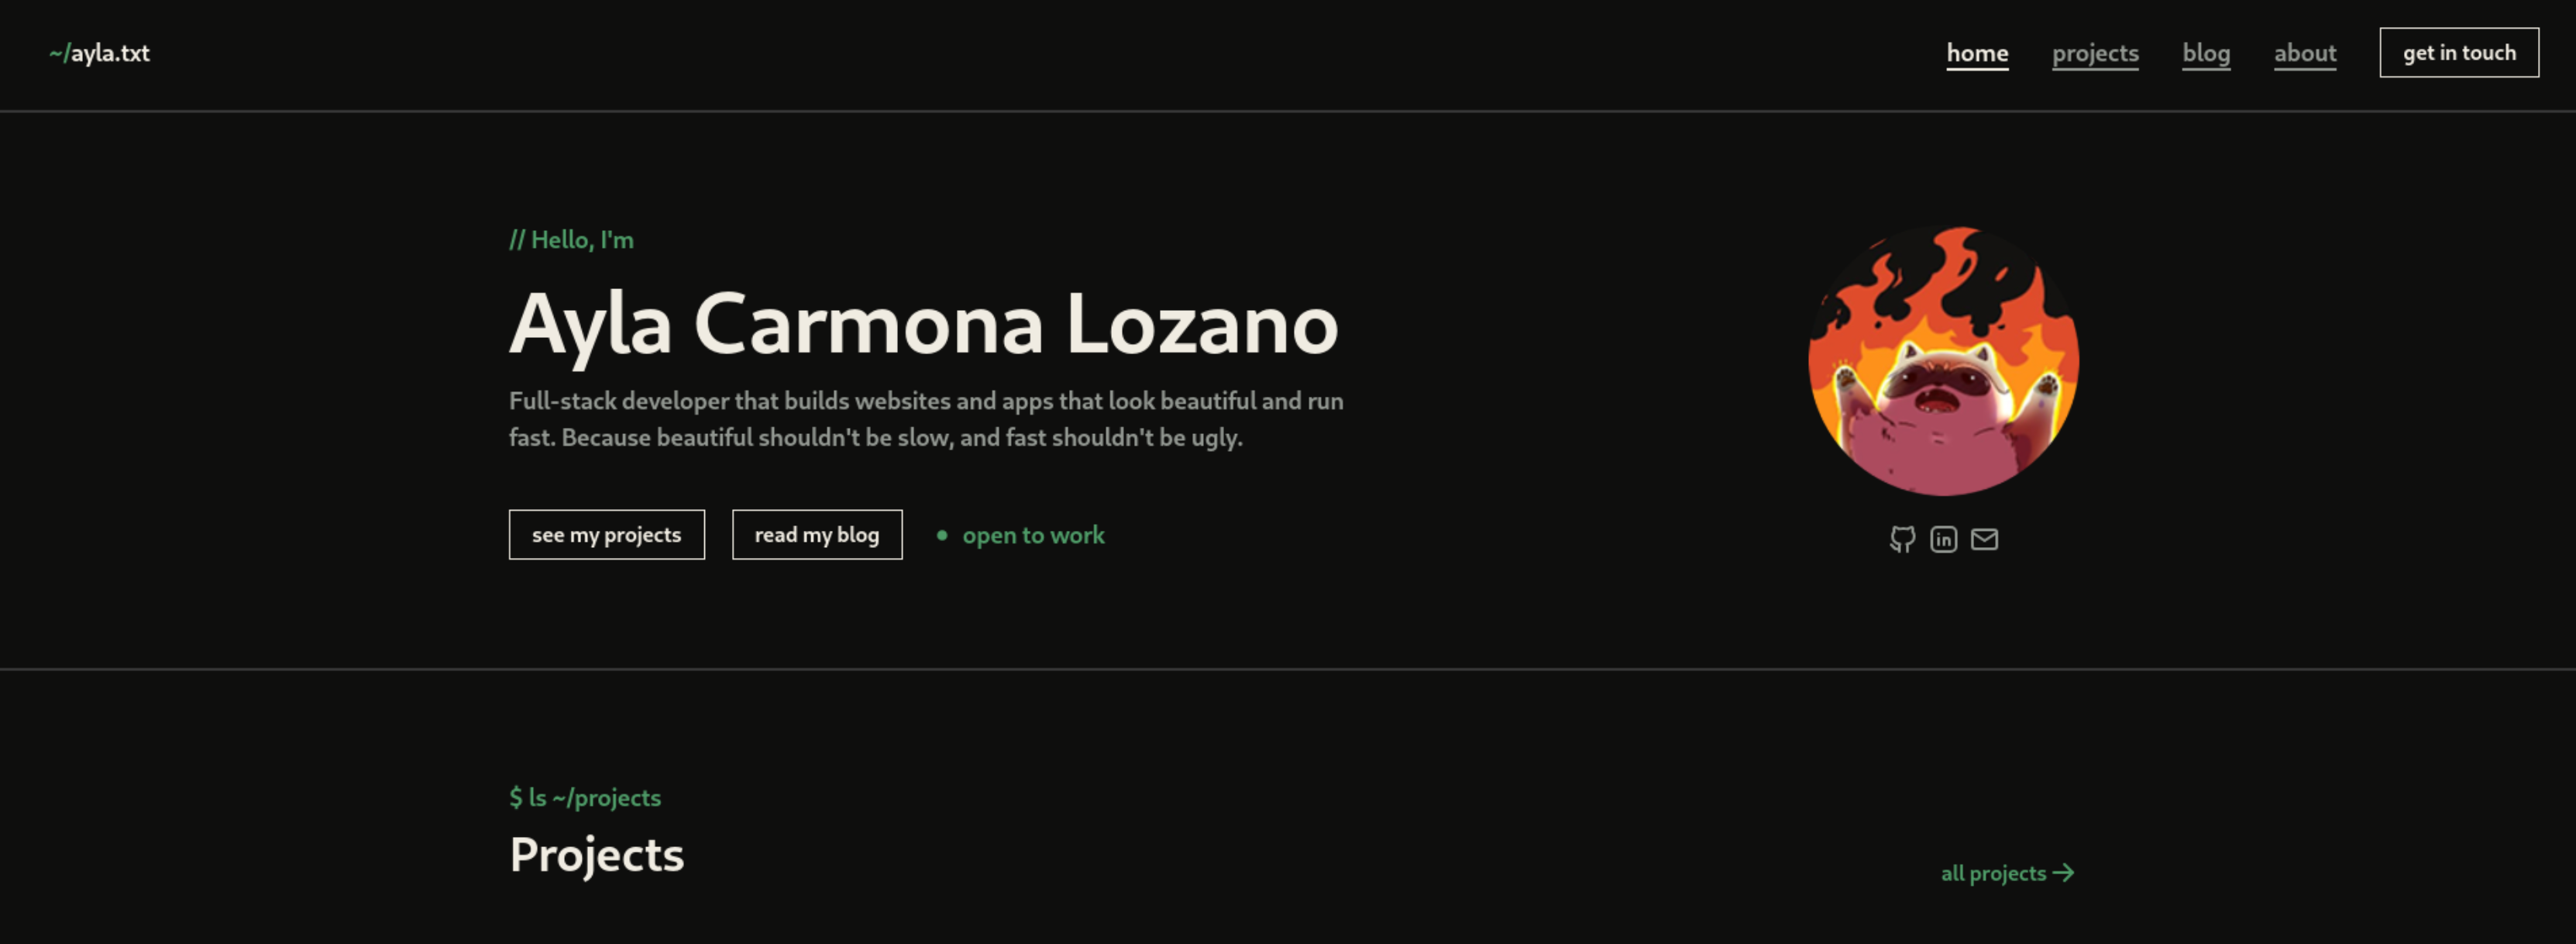
About this project
This is a project I built my final semester at Karel de Grote Hogeschool as a personal project to showcase my work. Since I was also doing my internship at this time when I was building a website I felt very comfortable working with all the tools I needed to create my own portfolio website.
How it works
Basically, it's a portfolio website that lets me write blog posts and project pages using MDX files instead of hard-coding everything. People can browse through my projects, read my blog posts and get in touch if they want. Behind the scenes, ContentLayer2 takes my Markdown files and turns them into usable data for the website.
How I built it
I kept it pretty simple. I used Next.js with Typescript for the frontend, ContentLayer2 for handling my content, Tailwind CSS for styling and Cloudflare Pages for deployment. Honestly, I picked these tools because they're what I was learning at the time.
Setting up ContentLayer2
The part where I was really unfamiliar with was ContentLayer2 so it took me some trial and error to set it up. Overall it was pretty easy to use though.
In my 'contentlayer.config.ts' I just had to define the structure of my projects:
export const Project = defineDocumentType(() => ({
    name: 'Project',
    filePathPattern: `projects/**/*.mdx`,
    contentType: 'mdx',
    fields: {
        title: { type: 'string', required: true },
        date: { type: 'date', required: true },
        description: { type: 'string', required: true },
        coverImage: {
            type: 'nested',
            of: CoverImage,
            required: true
        },
        tags: {
            type: 'list',
            of: { type: 'string' },
            required: false
        }
    },
    computedFields: {
        slug: {
            type: 'string',
            resolve: (doc) => doc._raw.sourceFileName.replace(/\.mdx$/, ''),
        },
    }
}))
And also of my blog posts:
export const Blog = defineDocumentType(() => ({
    name: 'Blog',
    filePathPattern: `blog/**/*.mdx`,
    contentType: 'mdx',
    fields: {
        info: { type: 'string', required: true },
        title: { type: 'string', required: true },
        description: { type: 'string', required: true },
        date: { type: 'date', required: true },
    },
    computedFields: {
        slug: {
            type: 'string',
            resolve: (doc) => doc._raw.sourceFileName.replace(/\.mdx$/, ''),
        },
    }
}))
After this contentlayer will simply generate objects based on these MDX files which I can then easily access later like so:
// This gives you an array of all your Project and Blog posts
import { allProjects } from "contentlayer/generated";
import { allBlogs } from 'contentlayer/generated';
Rendering MDX
I also built a custom MDX renderer that maps Markdown elements to my own components. That way the MDX is always renderd in a style that fits my website. And since my MDX rendered uses my components when I change them it will also change the way my MDX is rendered.
Syntax highlighting and tables
I need to fix a few problems still. To show code snippets I need to also have syntax highlighting. I did this using the rehype plugin. Another problem was that tables weren't properly rendered. I needed remarkGfm for this.
const rehypePrettyCodeOptions = {
    theme: 'github-dark',
    keepBackground: true,
}

export default makeSource({
    contentDirPath: 'src/content',
    documentTypes: [Project, Blog],
    mdx: {
        remarkPlugins: [remarkGfm],
        rehypePlugins: [
            [rehypePrettyCode, rehypePrettyCodeOptions],
        ],
    },
})
With all these tools I can easily add new content by just creating a simple MDX file and contentlayer2 will handle the actuall rendering of all the components for me.